Your AI assistant can do more for your team than answer static questions. You can also link it up with all the business systems you use, from your CRM to your calendar or payment system, or external apps like HubSpot, Jira and Zapier. We’ve done all the hard work for you, putting in place all the API connectors you need to transform customer support services.
If you want any help completing the set up process, book in for a FREE 30-minute call with us. We’re constantly refining our process as the technology advances and love to meet new customers along the way.
To set up integrations yourself, you’ll need to let the AI assistant know when to take the required action. Say you want to log new leads to your HubSpot CRM as they come in, so your sales team can make contact straight away. Without integration, your process might go something like this:
Your customer chats to the AI assistant
Customer: Can I speak to sales?
AI assistant: Sure, can I take your first name?
Customer: Jo
AI assistant: And your surname?
Customer: Brown
AI assistant: What’s your email address please?
Customer: jo@email.com
One of your agents will then launch HubSpot, create a new contact and manually add all of the details above (and more). After that, they’ll let the Sales team know the new contact is ready for them, but that all takes time. Integrate your AI assistant with HubSpot and it can do all of this for you.
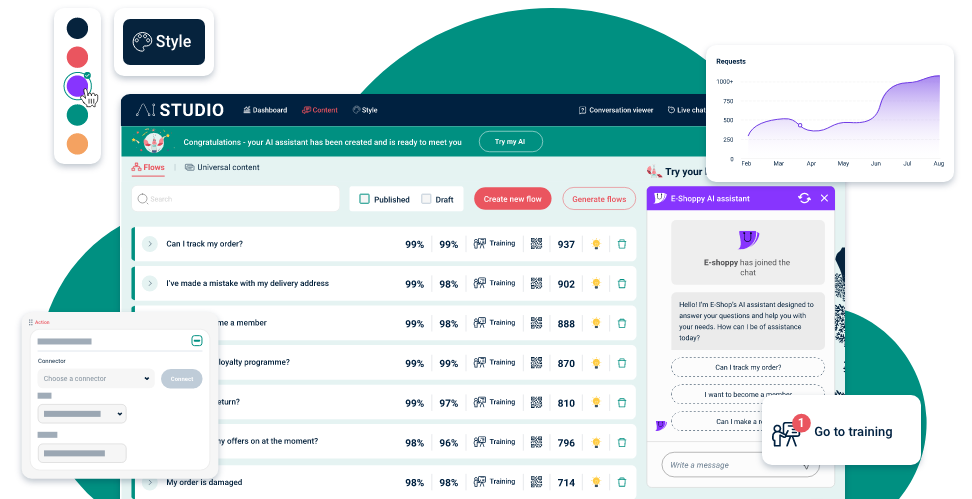
Setting up your flow ready for action
Step 1: First, you’ll need to identify which flow will prompt the action. In this case, the customer asks “Can I speak to sales?”.
Add or open this flow and add a new bubble. Choose Question.
You’ll then add all the follow on questions you need to ask to be able to complete the action at the end. Here, it’s the person’s contact details.
Step 2: Now, add a new bubble to your chat and select Action. This is where you choose the system you want to connect with (or you can add your own custom connector).
Step 3: Choose what Event you want to take place once the connection is made.
Here, you want your AI assistant to automatically create a new contact in your HubSpot CRM whenever a new lead comes in for sales, so they can follow up promptly and have all the details they need to hand.
Step 4: You’ll need to add Parameters for the new contact in HubSpot, which simply tells the AI assistant which bit of information to put where in the new contact record (based on the questions you ask to gather information).
To do this, type a forward slash (“/”) in the field you’re editing and a box automatically pops up with all available parameters.
Click on the parameter you want to use and your AI assistant will link it up in the right place in the CRM contact record.
Step 5: Finally, tell the AI assistant what label it Returns to the CRM as a tag for the new data. Here, it logs the new contact as a SalesEnquiry.
You’re now ready to Connect with HubSpot.
You’ll be asked to authenticate the connection using API credentials, which are set by the system you’re connecting to eg. HubSpot.
HubSpot uses a Bearer Token, but other systems might use an API Key or Basic Authentication. These API credentials, in any format, are simply a string of numbers and characters; you get them from your account for the system you want to connect to eg. HubSpot (ask them for help to find it if you need to).
You must protect your API credentials like you would a traditional password and not share the code with anyone outside your organisation or who does not need to know it.
Once you’ve authorised the connection using your API credentials, you’re ready to Publish your flow and your AI assistant can start taking the action(s) you’ve set it up to do.
Top tip:To learn more about APIs and how they work, read our blog post.
Once you’ve set up integrations, your AI assistant becomes infinitely more helpful. You can add live chat for free too, which we’ll talk about in the next section.
How to add live chat
We believe live chat is such a useful tool for customer service automation it’s included with your AI assistant at no extra cost. Our live chat system is easy to use and a vital link between your team and your technology.
To set it up, go to the Live chat tab.
Add team members as your live chat agents.
Organise them into teams.
Set the hours your teams are online.
Individual agents can now set themselves on- and offline with the click of a button to take over any intricate or unusual enquiries your AI assistant can’t help with.
Agents can transfer chats between themselves and leave notes, so everyone knows what’s going on.
If you want to automatically direct a specific query to a live agent, you can. Simply open your flow to add a Live chat bubble and include a text response to explain eg. “One of our team needs to do this for you, so I’ll hand you over to them now.”
One of your team then picks up this live chat and takes over the conversation.
Top tip: Get your team working in harmony with your AI assistant and you’ll be able to use live chat to efficiently cover every type of query. From those needing an instant answer to their question, to those who need a sympathetic ear.
Now live chat is set up, all you’ll need to pay for (after your 30 free days) is what you use. We explain that next.