How to use AI Studio
Trending and new
13 min read
24th Jul 2024

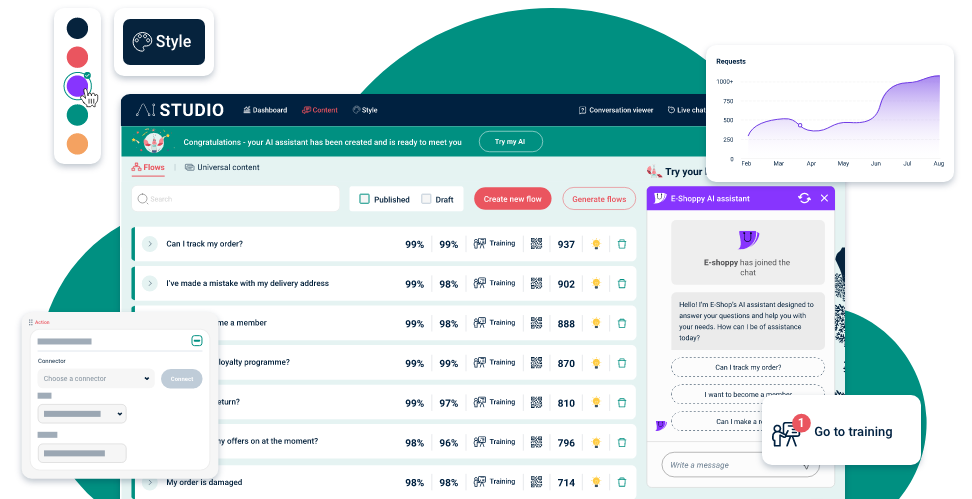
Creating an AI assistant on AI Studio takes less than 10 minutes. On our unique platform you can then dive as deep into advanced AI as you want to go, since everything you need for growth is available with no hidden features or costs:
- NLP (natural language processing) for easy conversation
- Controlled generative AI and the power of LLMs for rapid growth
- RAG (retrieval augmented generation) to get super specific on training
- Easy integration with all your favourite business tools, apps and platforms
Our pro team of language experts, psychologists, engineers and analysts are our human in the loop supervising the growth and development of our platform and AI assistants, so you can trust in and grow to depend on yours.